
What is the optimal garden bed to grow vegetables? These 6 beds follow the natural farming & permaculture principles.
What is the optimal garden bed to grow vegetables?
Understanding the advantage of 6 garden beds following natural farming and permaculture principles
One of the main approaches of Masanobu Fukuoka’s natural farming philosophy and Bill Mollison’s permaculture principles for breaking ground and building new bed systems is using the least destructive method. Understanding the different ways of creating garden beds including its benefits and disadvantages will save you a lot of energy and supports the plants to develop and increase your yield. Over the years, it will help to enrich soil fertility, create habitat and reduce the amount of maintenance.
There are a lot of garden bed systems and terms out there. No-dig garden, no-till garden but also double-digging garden beds, sheet mulching beds, lasagna beds, hugelkultur, or raised beds are just some of the most common approaches to growing food. All of them are linking back to the principle of using the least destructive method while increasing soil fertility. We will structure the 6 different garden beds into approaches and shapes to ensure an easy to digest overview.
If you want to experience and learn more about gardening and permaculture, you might want to join our next 17-day PDC starting in November 2020. Get all the information right here! For the time in between, we highly recommend our Free Online Permaculture & Resilience Course. Start today, no registration needed.
Author: Lars Blume

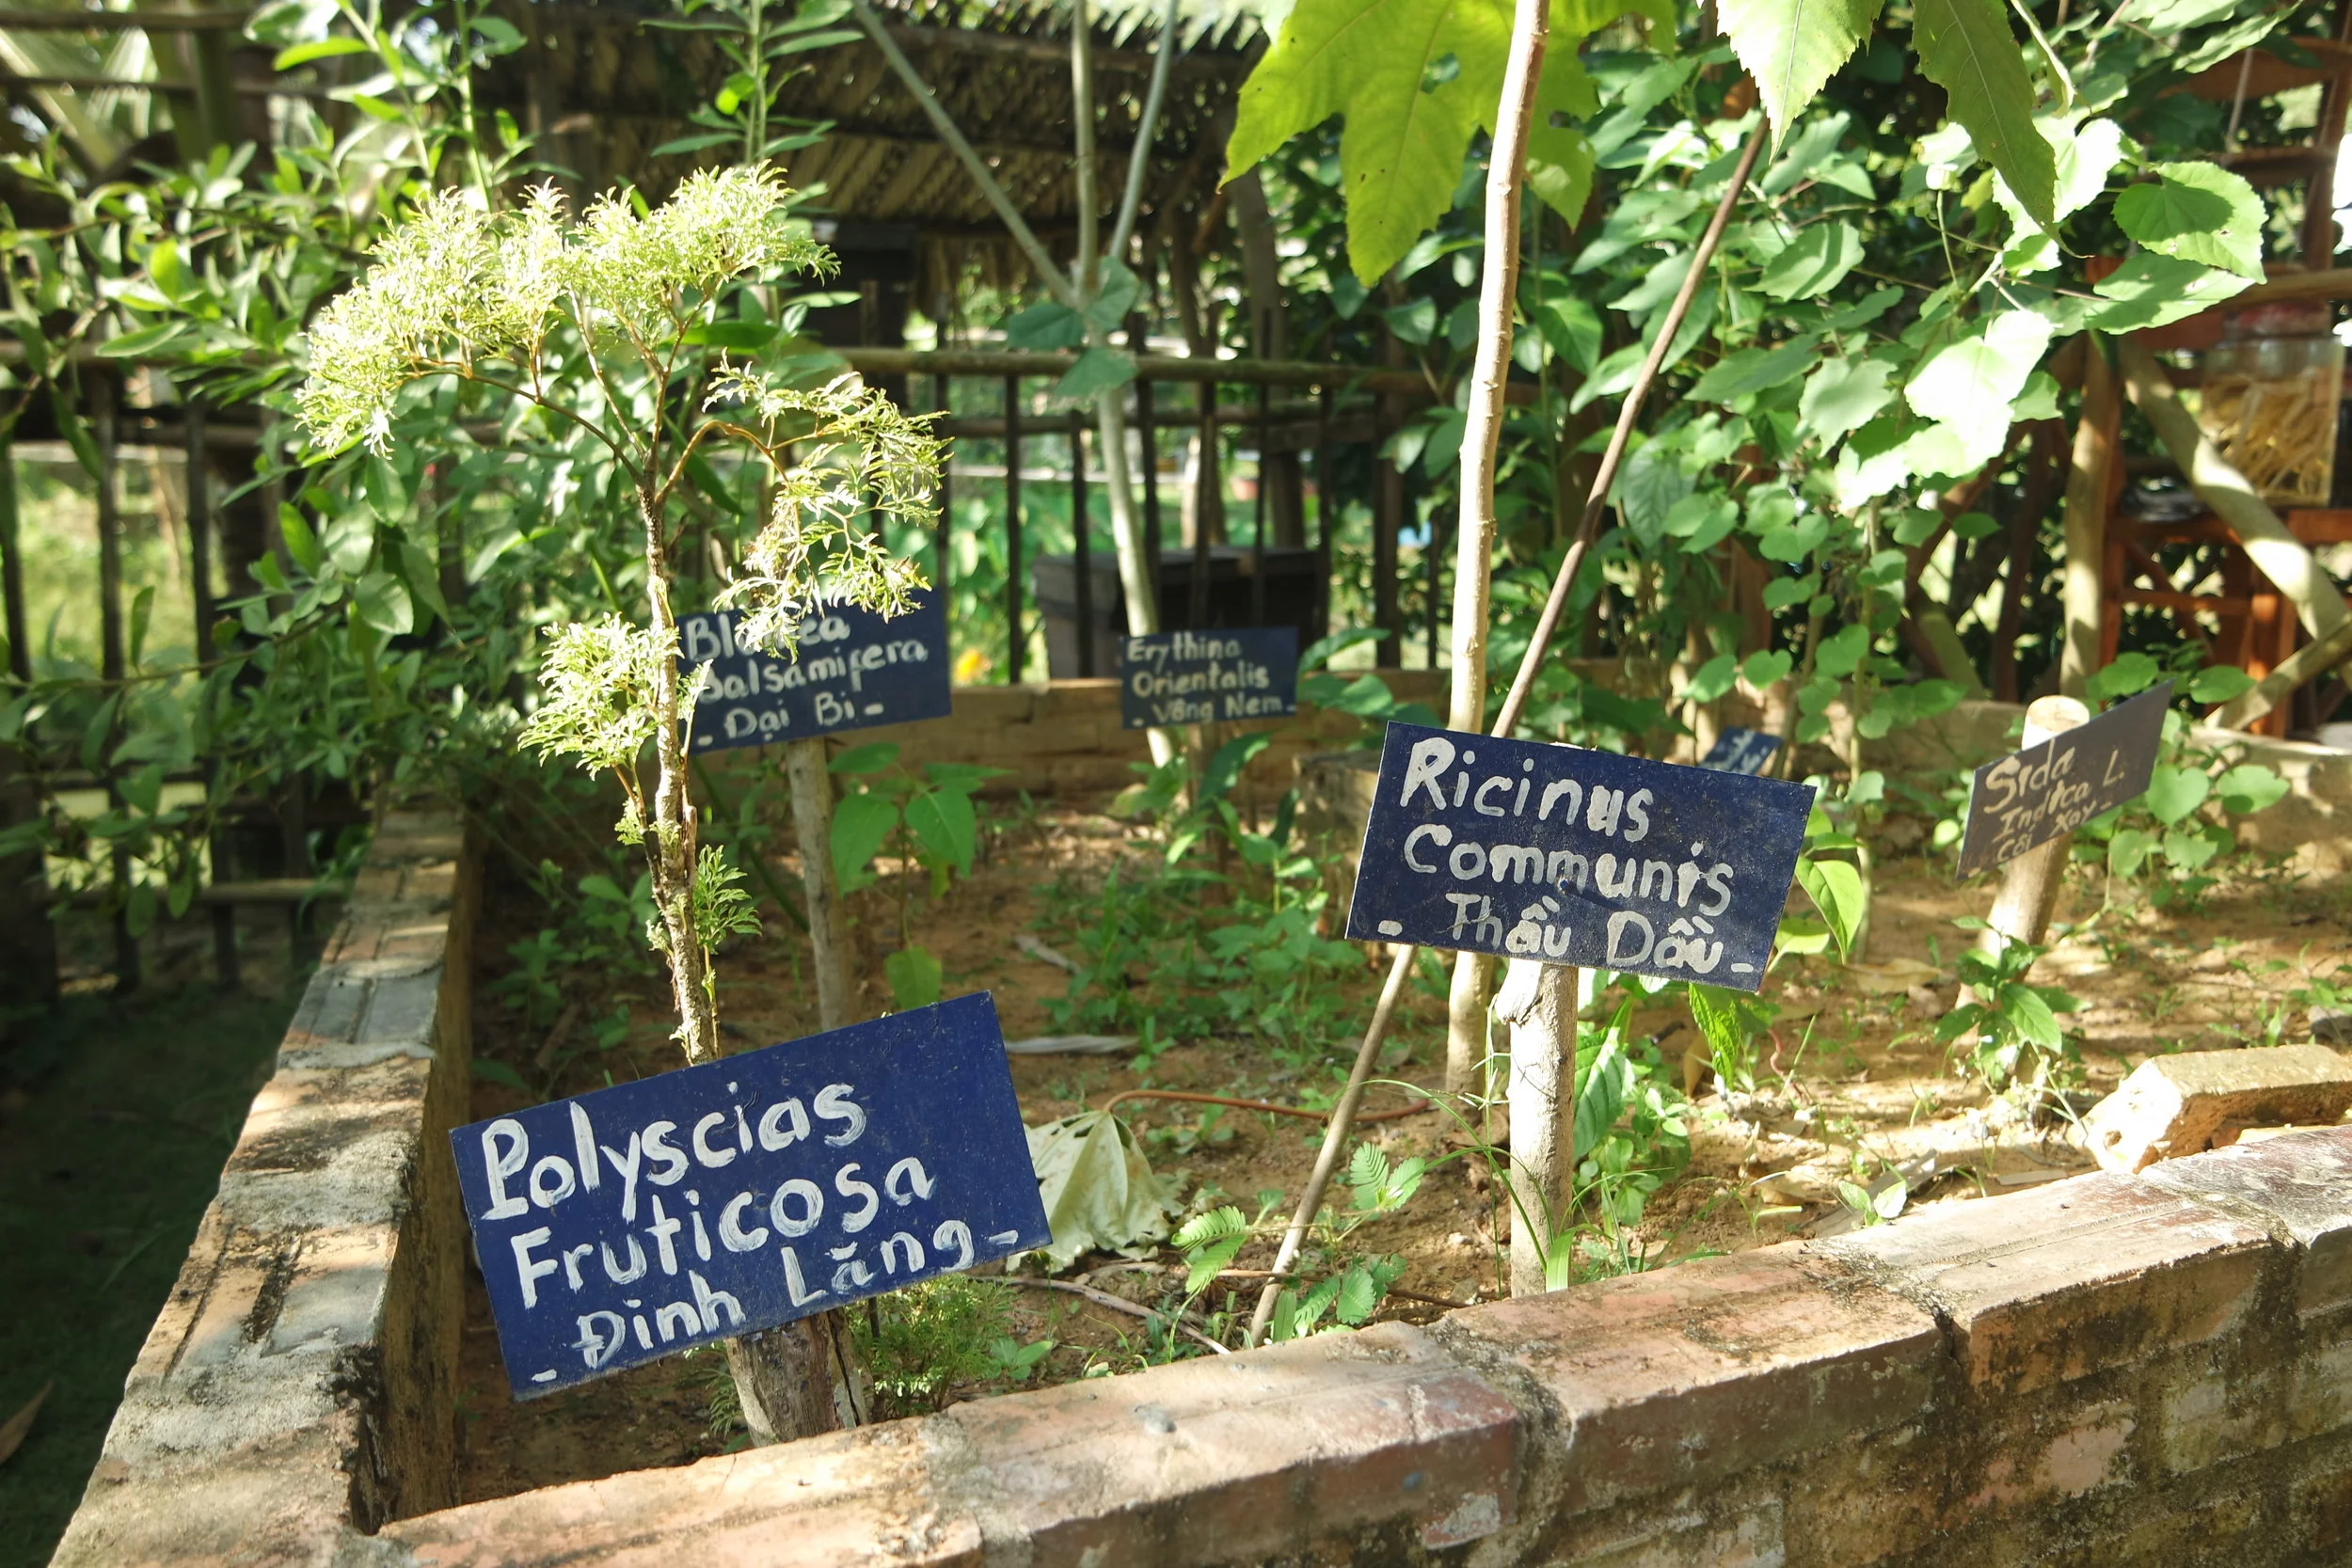
Stone edged beds in a mandala formation.
Back in the days, garden beds mainly had a width of around 3 to 6 meters. You had to enter the garden bed in order to do planting, maintenance and harvesting. To reduce the compaction of the soil, most of the garden beds today are narrow with a width that is between 90 and 150 cm. The ideal site has the possibility to stay on the path and reach out to the middle of the bed easily. Thus, it needs to suit you when it comes to maintenance and harvesting without stepping on the beds. In the end, you should end up in a high bed to path ratio. When planning the path between the beds it is important to have the size of your wheelbarrow or other tools in mind that you might have to transport close to the beds.
No-dig / no-till gardening & lasagna garden beds / sheet mulching (Natural farming and permaculture)

Sheet mulching supports the gardener to obtain a yield while enriching the soil.

No-dig gardens help to enrich the soil even under poor conditions.
When to use?
Ideal for already increased soil condition, and also possible to use as pioneering in rich soil areas. Can also be used under poor soil conditions.
Advantage: Soil structure will not be destroyed at all & natural processes are doing the work.
Disadvantage: Might take some time before the ratio of organic matter in the initial top soil will increase.
How to do it?
Four different names but the same concept behind. The main idea is to not take out existing ground cover such as grass, weeds etc. However, as you want to protect your new vegetable plants and reduce the competition for nutrients, sun and water it is important to turn the current growth into soil and increasing organic matter in your garden beds. This method is using 5 different layers that work together and end up with rich and fertile soil over time while giving you the possibility to contain a yield from the very first beginning.
Cardboard
Brown material such as leaves, shredded newspaper, etc.
Green material, kitchen waste, garden and grass clippings
Compost or topsoil
Mulch
An easy way of suppressing weeds and grass is to start your garden bed with a sick layer of cardboard. This layer will slow down the growth of the weeds and grass and actually help to transfer it into organic matter. The cardboard will also attract worms that will help to break down the cardboard and the dying plants. The brown and green layer is mimicking compost effect and ensure the nitrogen carbon ration. In Adding compost or topsoil as a fourth layer will ensure good growing conditions for the new plants. The final layer will suppress new weeds, keep moisture in the soil and reduce soil erosion.
Double dig garden beds (Permaculture)

Double dig gardens are often used for intensive used areas such as kitchen gardens.

Corn and other crops are developing well in a double dig garden bed.
When to use?
Intensively used garden plots like (main Kitchen gardens) in which we often ask more of the soil than natural systems would. Areas where we have little topsoil and a need to enrich subsoil while adding organic matter.
Advantage: Fast way of adding soil fertility. Ensuring the right soil conditions for plants with a high demand for nutritious.
Disadvantage: Destroying soil life
How to apply double dig gardening?
The layer of topsoil is temporarily removed from the beds, the subsoil beneath it is loosened with a fork, and organic matter is mixed into the subsoil. After finishing the subsoil, the topsoil is replaced. The finishing is following the same approach as the no-dig gardening. The double-dig beds are covered over with a layer of organic compost and finally topped off mulching material.
Raised garden beds (Permaculture)
Raised beds can also be build out of reclaimed bricks.

Some raised beds are just a little elevated.
When to use Raised beds?
Raised beds are great for urban areas as you can create them on concrete or any given surface. Furthermore, they also help to work around areas with bad drainage. Raised beds are great for inclusive gardening as it allows access for wheelchairs or people with back pain.
Advantage: Free draining and usable even in industrial and urban areas. High in fertility and long growing season.
Disadvantage: Requires more preparation and more expensive.
How to build a raised garden bed?
The big difference of a raised garden bed to a no-dig garden is that you are giving external support to your layers. This frame allows you to put more layers or organic matter or already mixed compost on your beds. 2 steps are needed to build a raised garden bed:
Build and place your frame according to your designed height (wood, stones etc.)
Fill the space either with a mix of compost and topsoil or follow the no-dig garden layering process till the raised bed is filled.
A raised garden bed is good for root crops in general, onions, tomatoes, leafy greens and potatoes.
Hugelkultur bed (Permaculture)

Planting on top and on the sides of a hugelkultur is increasing the surface area.

After planting on the hugelkultur bed, watering is essential to ensure a good start for the plants.
When to use?
Hugelkultur is mainly used if you want to create a garden bed that is releasing fertility back into the soil for a long time (up to 20 years)
Advantage: Remaining soil fertility over a long period. More surface area; creates a microclimate. Helps retain moisture on site and increases drainage.
Disadvantage: Initial destruction of existing soil life and structure, high energy input.
How to build a hugelkultur bed?
Hugelkultur beds are large, layered compost piles covered with compost or topsoil, just like raised beds. However, the big difference is the amount of wood that is put into this specific garden bed. The first layer, sometimes even partly buried, is made up of big logs and wooden material. They will act as a fertile storage and will increase soil fertility over the years. The second layer are smaller branches, followed by small sticks and twigs. As a final layer, everything will be covered with topsoil and mulch.
Spot planting (Natural Farming and Permaculture)

Spot planting is often used to pioneer a new plot of land.
When to use?
Spot planting is a great start to transition a big plot of land into a fertile garden bed. It mostly starts with creating ‘islands’: fertile soil pockets for trees surrounded by plants that are benefiting the development of the tree while giving a yield. From there, one you can start linking the different ‘islands’ to create a growing oasis.
Advantage: Small areas of the land are transformed into fertile and usable garden beds in a gentle way, meaning less energy input and material. The human interaction with nature is focused and minimized.
Disadvantage: Not ideal for creating an intensive used kitchen garden. Weed control is complicated as the garden bed is surrounded by wilder areas.
How to use spot planting?
Spot planting uses the same layering method than the no-dig bed. You are focusing only on that part where you will plant a tree or create a small fertile pocket for vegetable growth. With spot planting, you are creating a small garden within your plot of land.
Alley cropping (Natural farming and permaculture)

Even if the main crop is producing no fruits yet, supporting plants like papayas are already fruiting.
When to use?
When building an orchard to bridge the time before the main trees are fruiting or timber harvest will start.
Advantage: more crops at the same time instead yield even if main crop will take some years before producing fruits.
Disadvantage: Competition for nutrients and more space between the fruit trees is needed .
How to build up an ally crop?
Alley cropping is the cultivation of food, forage or specialty crops between rows of trees. It is a larger version of intercropping or companion planting conducted over a longer time scale. You plant your young main trees in the first place providing.
Want to learn more?
Gaia Ashram together with NextGenoa and flowful will organize a Permaculture Design Certificate (PDC) COurse between March 25 and April 10 at Gaia Ashram Thailand. You can find more information here or just drop us a message; we’re happy to hear from you.
At the moment we are designing the courses for our summer break (May/June) in Germany. We will have several weekend courses and also a PDC-Course happening. To get more information just write us a message; we will keep you posted.
If you want to experience a design process join one of our workshops or invite us to your property and become the host for the next workshop. Just drop us a mail for further information. Or just subscribe for our monthly newsletter.
Furthermore you can join Gaia Ashram an community based education centre as a volunteer and learn more about gardening, spirituality and nature connection, For futher information check www.gaiaschoolasia.com.
Further read:

A well-designed and managed vegetable garden can produce a lot of food, even on a small plot of land. This article explores the 7 key success factors for growing vegetables for temperate and tropical climate and gives recommendations how to manage each factor.